

How to replace rubber tracks on a mini excavator in 6 steps
Replacing the rubber tracks on a mini excavator can be done in less than half an hour if you have the tools and know the correct procedures. We recommend that there should always be two of you to carry out the replacement quickly and safely.
Before starting the work, it is necessary to wear appropriate safety clothing, have a long wooden board and a grease gun at hand. Now let's look at the steps for track replacement.
Step 1: Raise the machine
Push the blade into the ground at the rear side. Then push the arm and bucket down into the ground at the front end. With the arm and bucket pushing down, the mini-excavator will lift up, allowing you to work on its undercarriage.
Make sure that the operator lifts the safety lever. This is to prevent the lever from being accidentally bumped, which could cause the machine to fall and injure the person changing the crawler track.
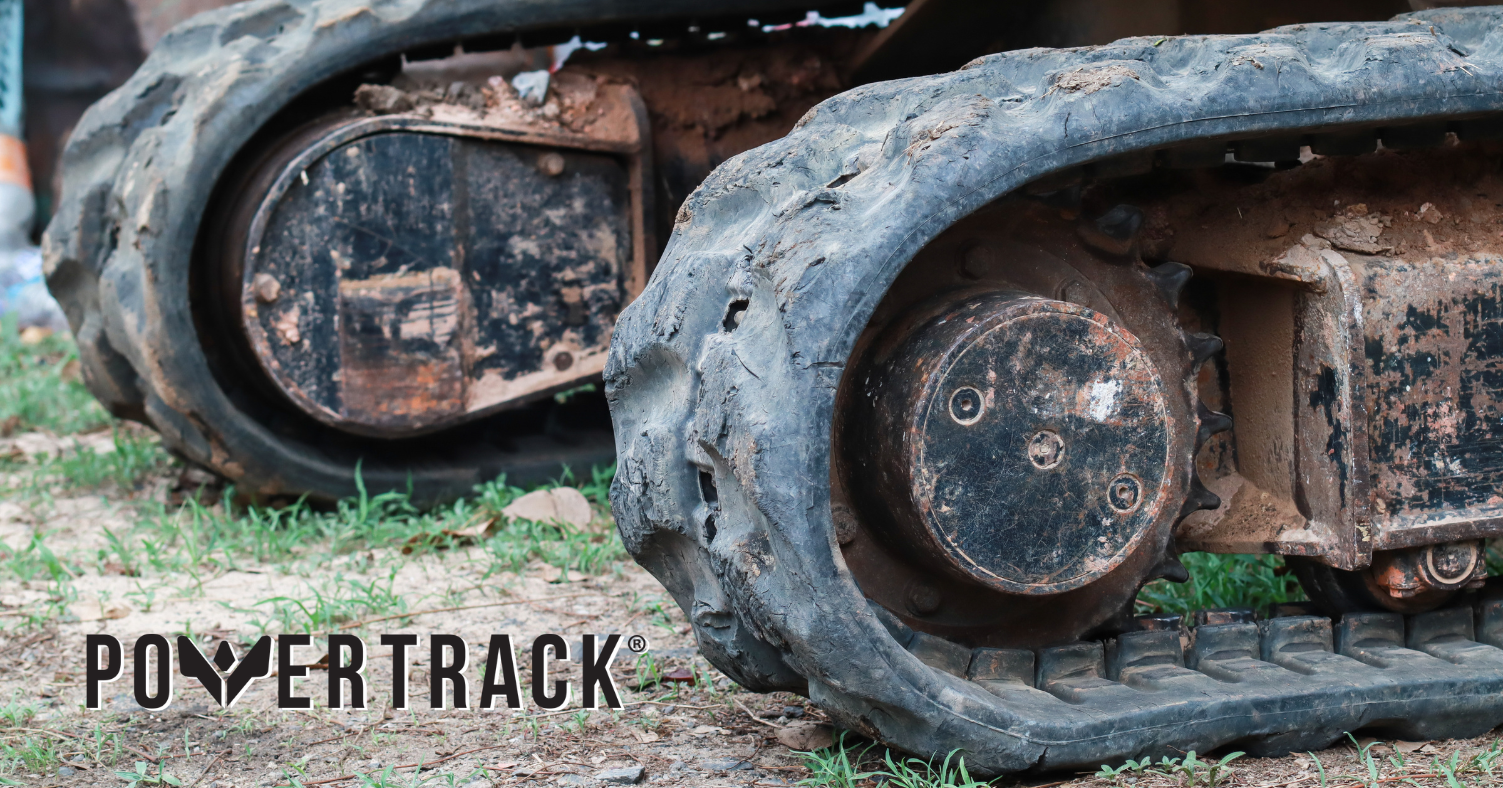
Step 2: Removing the grease valve
On the side of the undercarriage there is an access hole. Inside the hole is the grease valve. By loosening the valve, the grease will begin to escape as the tension along the crawler track begins to decrease. You can accelerate the retraction process by pushing on the centre of the track with one foot.
Step 3: Remove the track
The operator should start the machine and place a tension bar (possibly wooden) along the idler wheel first and the sprocket later. Leverage between the track and the front undercarriage until it moves and then move it away from the rear toothed wheel.
We do not recommend using an iron pole in order to preserve the good condition of the track and undercarriage!
Step 4: Position the tracks correctly
Rubber tracks on excavators are often directional, as they have a V-shape on the pattern. You must ensure that the tracks are mounted with the 'V' pointing towards the front idler.
The track must be mounted in the correct way because if the excavator is working on very soft materials, this will push the mud towards the outside of the excavator, thus gaining more traction. If the track is mounted incorrectly it will instead push the mud under the machine.
Step 5: Installing the tracks
You can now lift the track over the rear sprocket and idler wheel. Next, move the track so that it fits over the front idler wheel.
One operator will have to activate the forward gear at very low speed, while a second operator will have to push the track over the idler wheel.
Step 6: Adjust the track tension
Use paper towels to clean the inside of the access hole and the grease valve before reinstalling it. Screw and tighten the valve in place. Then pump grease inside using the grease gun in order to adjust the tension of the rubber track.
The centre of the track should have about two to three centimetres clearance from the undercarriage. Switch on the machine and engage the forward gear to check the tension.
Keep in mind that the rubber track may need further adjustment after a few hours of operation, as it will become looser.
If you have any questions do not hesitate to contact us, the PowerTrack team of experts is always at your disposal!